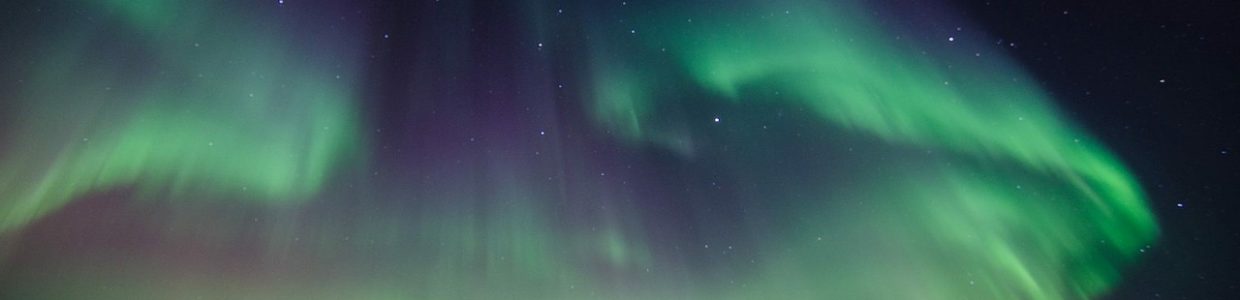
In one of our previous blog articles, you were given all the advice on where and when to see the northern lights. Now that you know that the most beautiful are between November and March in Norway but also in Iceland and Finland, we will be looking at a different subject. How to photograph them? These green and pink reflections are sometimes difficult to see and especially require a little technique to be immortalized. The night, the stars, the sky…Many elements are to be taken into account. Bring a camera and go! We give you all the tips and tricks to succeed.
Northern Lights for your next Holidays? What Material to bring with you?
Are you heading for the northern lights, the Arctic Circle and the Nordic countries like the sumptuous Finland, the wonderful Iceland or the mysterious Norway? You want to keep unforgettable memories of your trip and especially of this colourful and special phenomenon that will take place in the sky? Know that you will need a little training to get the perfect picture of an aurora borealis.
Here are the Things to Remember before the Big Start:
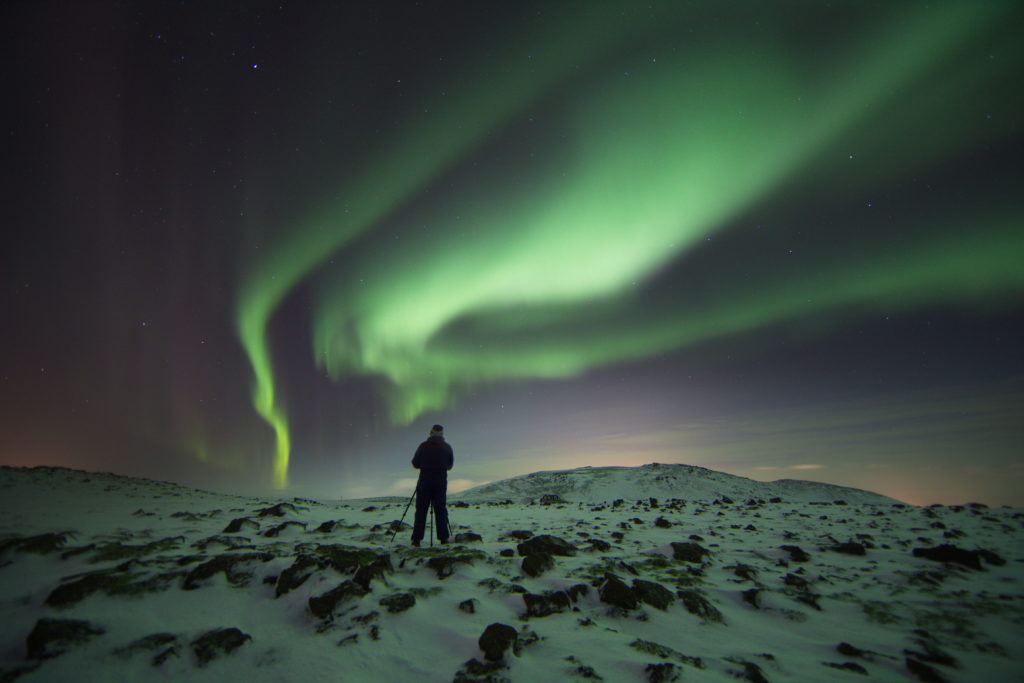
You need a camera with access to settings, either an SLR or a hybrid. Bring a tripod with you, which will prevent your camera from moving when you are shooting. Bonus: if you have a remote to avoid moving the device when pressing the button, it’s even better!
Which Settings to Use for the perfect Northern Light Photo?
Prepare yourself beforehand and experiment with your camera. Learn how to set your camera for night shots. Know that your settings will very often change from one photo to another. Whether you are in the forest, near a lake, there is a full moon or a big starry sky … your settings will be different. Be aware that the most important detail is the low light that requires a relatively long exposure time.
The Photography Technique for the Aurora Borealis
First, set your camera on the “Manual Focus” mode. It is usually located on your lens and set the focus point on infinity. Set the ISOs to the lowest, ISO100 in general, which will allow you to have images with as little “noise” as possible (this is characterized by unusual colour points in black tones).
Next, set your camera’s shooting mode to “aperture value,” indicated by A or Av, which will allow you to choose the aperture, and the sensor will automatically set the necessary exposure time.
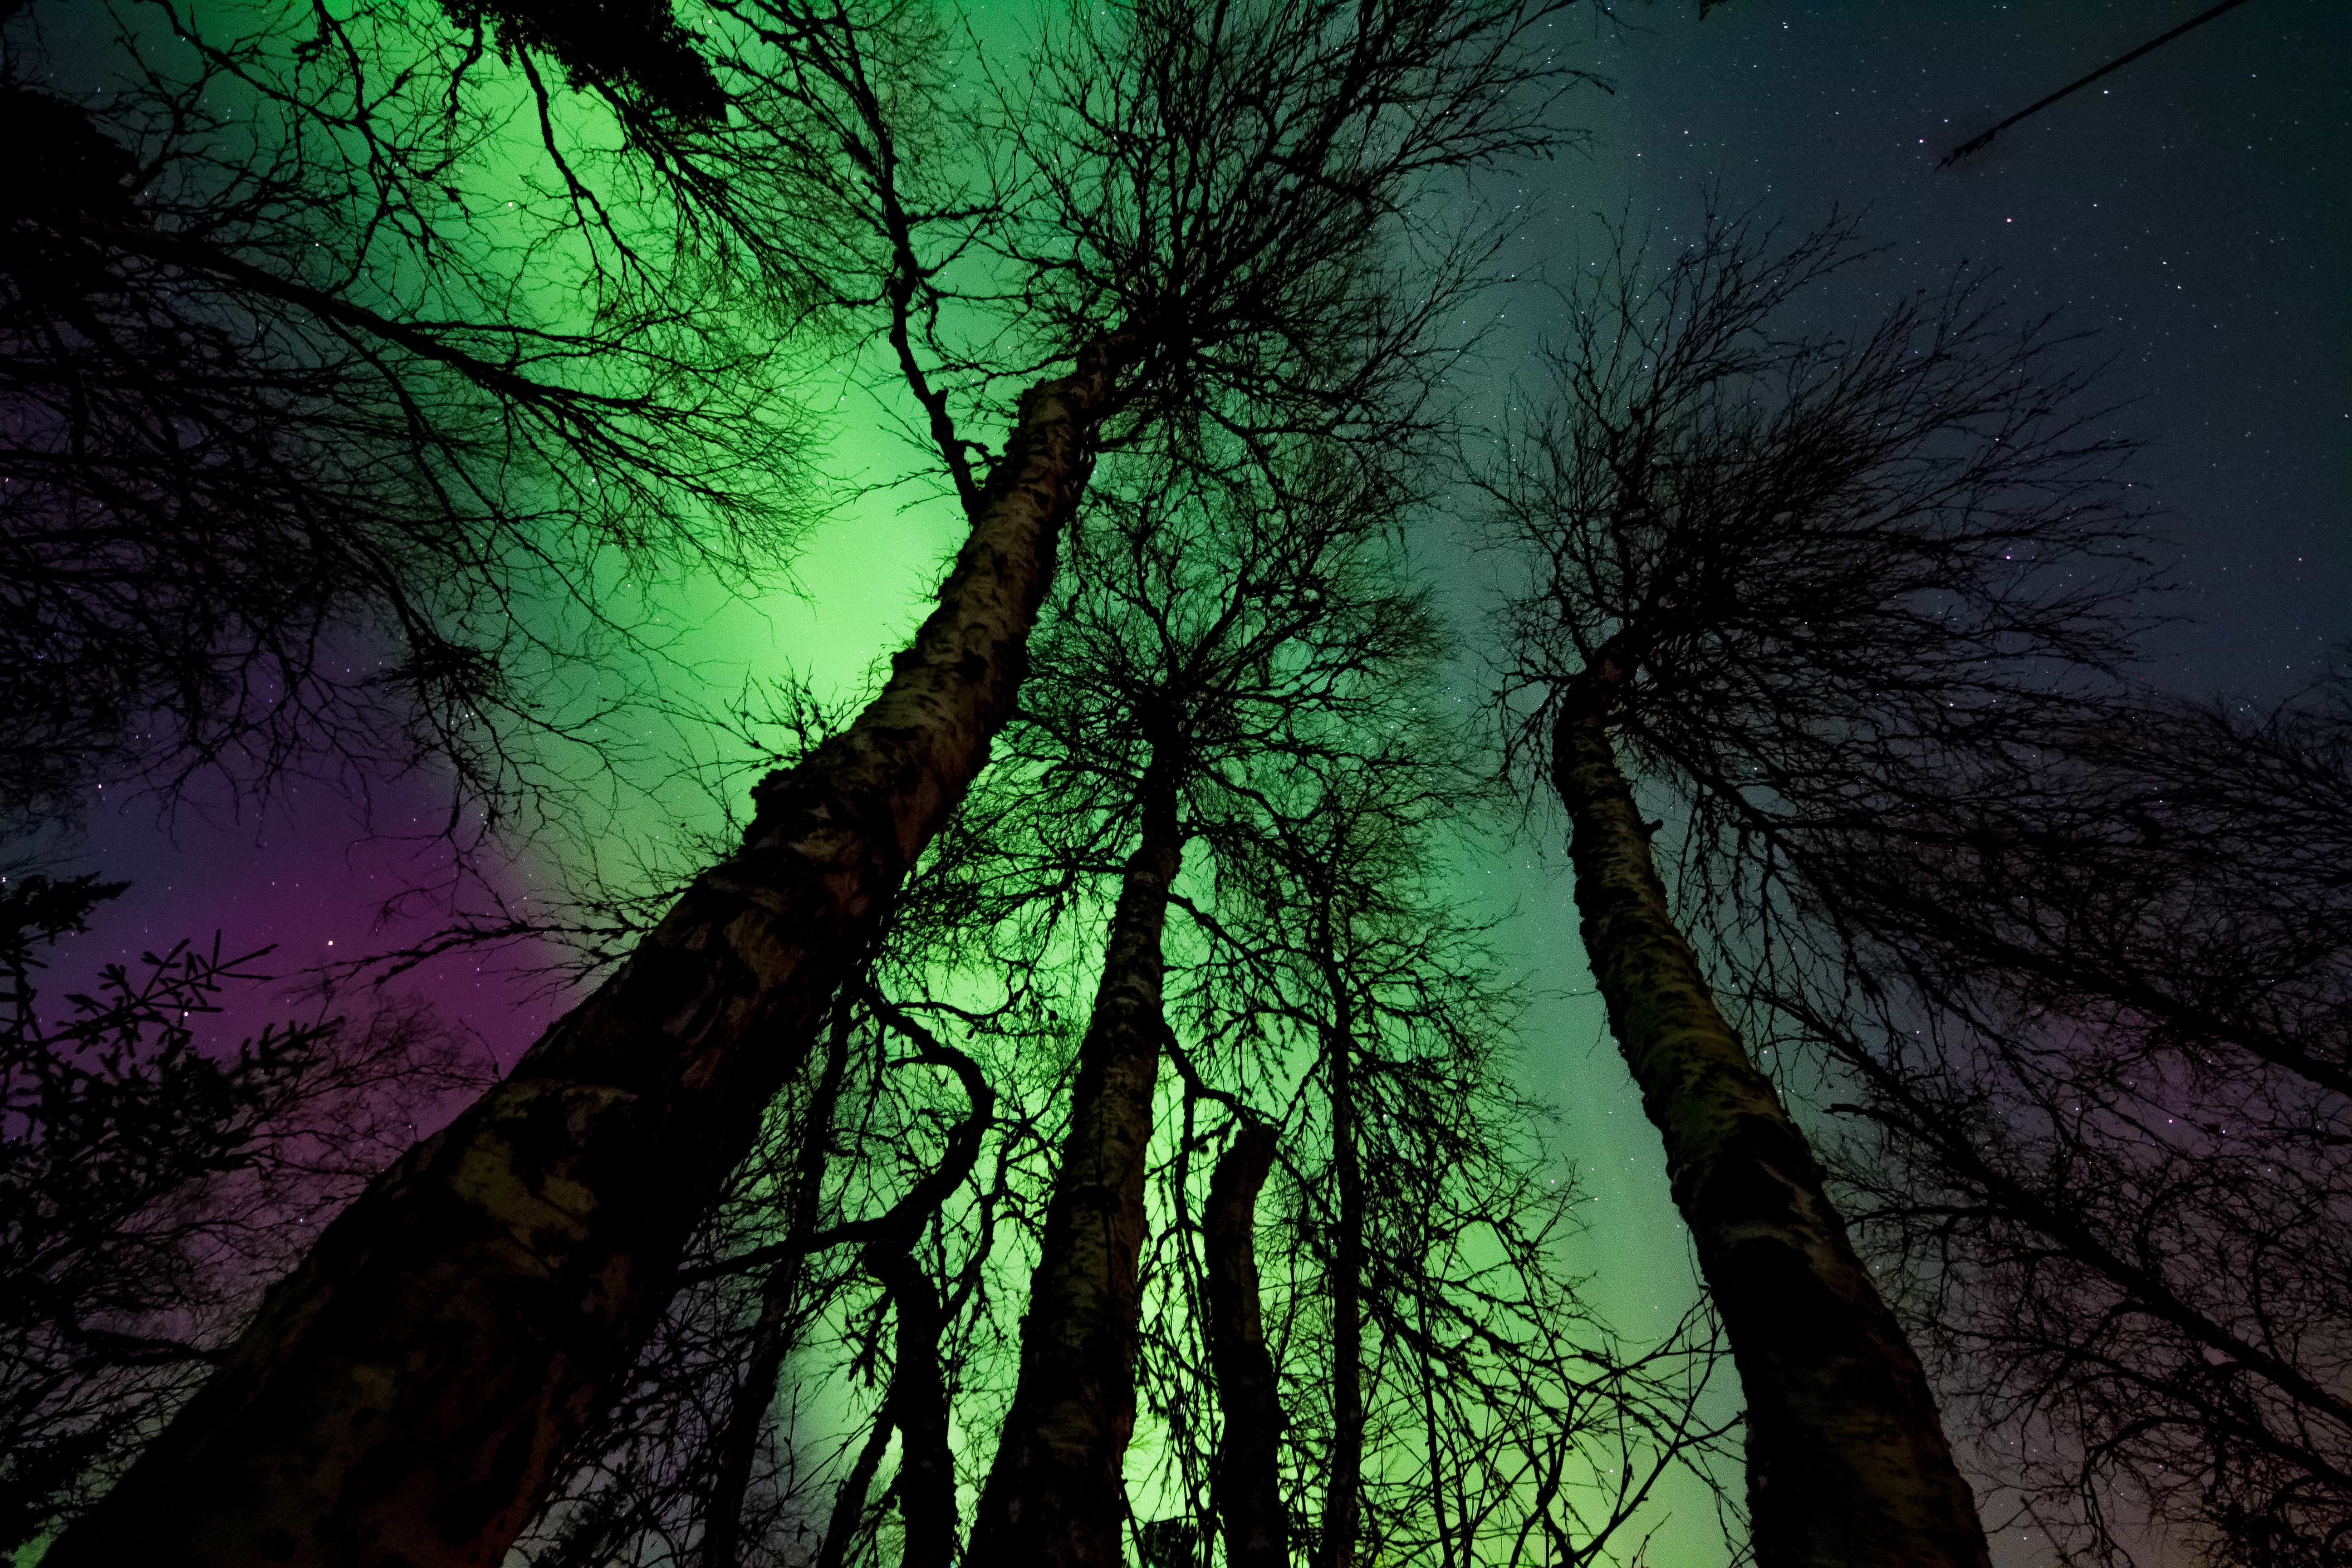
Either you set your aperture to the lowest, which corresponds to the largest aperture if you want your foreground to be blurry. Either you go to the small openings (f11 or f15 for example), which will allow you to have all clear plans, as for example a silhouette in the foreground, passing by the foliage of the trees, up to the illuminated sky.
The exposure time will be defined by your camera ; in nocturnal conditions it is not uncommon to have an exposure time of up to 30 seconds (hence the obligation to put the camera on a tripod to prevent movement during exposure).
Then play with all these settings, experiment and have fun! It is not every day that this spectacular phenomenon will appear before your eyes. And do not worry, even if you’re not a great photographer, you’ll get there. Very often, the guides who will accompany you on your tailor-made trip to the Nordic countries will explain how to adjust your cameras.
We can also offer you to be accompanied by a professional photographer who will assist you for your shots.